


Once your signal is set up (fire, ground marking, visual signals), stay in immediate proximity. If rescuers spot your signal but don't find you nearby, they'll waste precious time searching for you in the vicinity. Your signal must indicate where you are, not where you were.
-
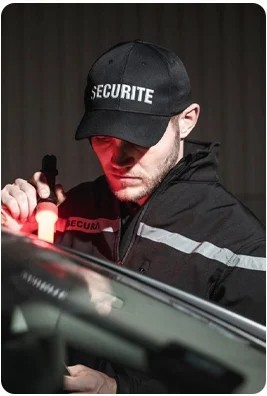
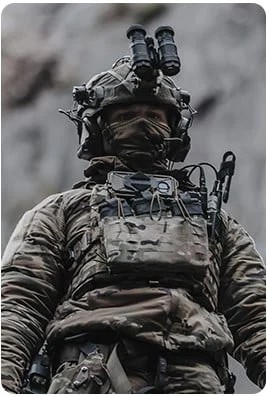
 Professions
-
-
-
-
-
-
-
-
All Tops
![All Tops]()
-
-
-
All Bottoms
![All Bottoms]()
-
-
-
All Footwear
![All Footwear]()
-
-
-
All Bags
![All Bags]()
-
-
-
All Accessories
![All Accessories]()
-
-
While hiking, camping, on a tactical mission, or in an emergency situation, knowing how to signal your distress can literally save a life. Whether you're a security professional, outdoor enthusiast, or casual hiker, mastering universal distress signals is essential. Here's everything you need to know to be spotted and rescued effectively.
Table of Contents
- Why do we talk about "universal" signals?
- Main types of distress signals
- Summary table of key signals
- Tactical tips to maximize your chances
- Common mistakes to absolutely avoid
- Conclusion: preparation saves lives
Why do we talk about "universal" signals?
A universal distress signal is internationally recognized, regardless of language, culture, or rescue system. These simple and standardized codes allow immediate understanding by search and rescue teams, whether ground-based or airborne.
The basic principle? The rule of three. Three repeated signals constitute the international standard for indicating a distress situation: three whistle blasts, three fires, three light flashes. This repetition clearly distinguishes a call for help from an accidental noise or signal.
Main types of distress signals
Sound signals: making yourself heard
The whistle remains the most effective sound tool in natural environments. Unlike the voice which tires quickly, a whistle carries several hundred meters with minimal effort. The standard protocol: three spaced blasts, a pause of about one minute, then repeat.
Three spaced shots with a firearm also constitute a recognized distress signal, particularly in isolated areas where this type of sound is unusual.
In urban or road environments, three horn or car horn blasts can be used to alert emergency services or other users.
Visual signals: being spotted
Three fires arranged in a triangle or straight line are a classic of aerial signaling. On open terrain, this obvious geometric configuration immediately indicates a human presence in distress.
The SOS Morse code (three short – three long – three short) can be transmitted with a flashlight, a mirror in the sun, or any light device. This international signal remains one of the most recognized in the world.
Ground signals visible from the air are crucial during aerial searches. Use stones, logs, clothing, or any contrasting material to form:
- The letters "SOS" or "HELP"
- A large "X" (indicates need for medical assistance)
- An arrow pointing to your position
The signaling mirror or any reflective surface allows you to send light flashes toward an aircraft or rescue team. In sunny weather, these reflections are visible from several kilometers away.
Arm movements: raising and waving both arms above your head signals distress. One raised arm generally indicates that everything is fine.
Technological equipment
Personal locator beacons (PLBs) transmitting on 406 MHz directly alert rescue coordination centers via satellite. They are essential for expeditions in isolated areas.
Satellite phones offer direct communication, but should never be your only solution in off-grid areas: batteries, failures, and weather conditions can render them unusable.

Summary table of key signals
| Signal | When to use it | How to proceed |
|---|---|---|
| Three whistles | Terrain, forest, nearby emergency | 3 spaced blasts, 1 min pause, repeat |
| Three fires/smoke signals | Aerial search, open area | Triangular arrangement or straight line |
| SOS in light Morse code | Night, long-distance signaling | 3 short – 3 long – 3 short (light/mirror) |
| Ground signal | Flat area, clear sky | Giant letters with contrasting materials |
| Reflective mirror | Sunny day, visible plane/helicopter | Series of 3 flashes directed toward the aircraft |
Tactical tips to maximize your chances
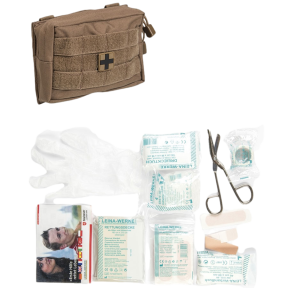
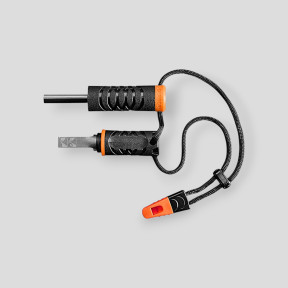
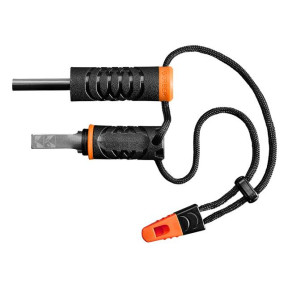
Build a compact signaling kit including: metal whistle, survival mirror, high-visibility orange or yellow fabric, emergency fire/smoke kit. This equipment weighs little but multiplies your options.
Strategically choose your signaling position: prioritize open areas, at elevation if possible, away from visual obstacles (dense trees) or sound obstacles (noisy streams).
Adapt your signal to the environment:
- Area with probable air traffic → visual signals at elevation
- Dense wooded terrain → sound signals or fire/smoke
- Desert or plain → combination of ground signals + mirror
Consider weather and wind for fires and smoke. Well-oriented smoke will be visible for kilometers; poorly positioned, it will disperse without effect.
Repetition is crucial. An isolated signal can be confused with a natural or accidental phenomenon. The sequence "three signals - pause - repetition" clearly indicates human intentionality.
In a team, establish a prior protocol: three whistles = real distress, one whistle = regrouping request. This coding avoids false alarms and confusion.
For tactical professionals: the same principles apply, with the possible addition of discreet signals (infrared, hand signals) depending on the operational context.
Common mistakes to absolutely avoid
Not signaling at all
The most serious mistake: remaining silent or invisible thinking that rescuers will find you automatically. In vast terrain, a motionless person is virtually impossible to spot. You must be actively seen AND heard.
Using a confusing or non-repeated signal
A single whistle blast is never enough. Rescuers may interpret it as an animal noise, an accidental signal, or simply not hear it. Repetition according to the rule of three is imperative to confirm distress.
Setting up a fire in a non-visible location
Lighting a signaling fire under dense forest cover or in a terrain depression makes it invisible from the air. Always seek a clearing or high point for your visual signal.
Relying solely on technology
In isolated terrain, your phone will probably have no network. Batteries die, devices fail, weather conditions disrupt signals. Having an analog backup plan (whistle, mirror, fire) is not an option, it's a requirement.
Moving away from your signaling position
Neglecting preparation
Waiting for an emergency to think about distress signals is too late. Integrate this equipment into your outdoor EDC (everyday carry), train yourself in different techniques, and mentally rehearse the protocols.
Conclusion: preparation saves lives
Knowing universal distress signals requires neither expensive equipment nor exceptional skills. A few lightweight tools, an understanding of standard codes, and regular practice are sufficient.
In a real distress situation, your ability to signal effectively will make all the difference between a quick evacuation and a prolonged, potentially dangerous wait. Never venture into isolated terrain without checking your signaling kit and memorizing these basic techniques.
The golden rule: three signals, repetition, maximum visibility. It's simple, universal, and it works.
Related products


Related articles

Solo bivouacking: an experience to try at least once in your life!
Read the article


-
![Over 200 brands At the best price]() Over 200 brands At the best price
Over 200 brands At the best price -
![Secure payment In 3 or 4 interest-free installments]() Secure payment In 3 or 4 interest-free installments
Secure payment In 3 or 4 interest-free installments -
![Delivery across Europe As soon as possible]() Delivery across Europe As soon as possible
Delivery across Europe As soon as possible -
![Customer service Monday to Friday]() Customer service Monday to Friday
Customer service Monday to Friday